Showing posts with label crafty craftiness. Show all posts

Wednesday, November 5, 2014

Fall School Craft

Having four kids it was only a matter of time before I signed up to be room parent. Luckily this year it is just assistant. Here are the cute crafts we did at our fall party with first graders. I had seen on Pinterest where you took a child's hand print and added veins for leaves. I added the frame made of popsicle sticks. We all know that a craft at school isn't complete without the foam stickers.

So here it is. A cute kid craft for that season in between summer and winter. 

Thursday, October 23, 2014

Polymer clay


My mom and aunt started messing with polymer clay. I figured, why not. Here is what I came up with. I am a fan. I will probably so some ornaments for Christmas this year. 


Earrings


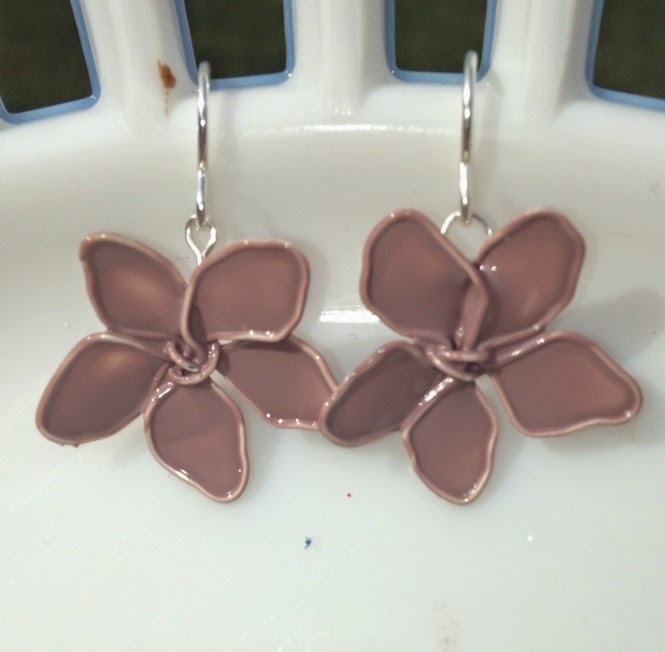
Artists are always reinventing themselves or tying new things. I saw something on Pinterest and had to try it. I feel in love. It was hand shaping wire into flowers then painting them with nail polish. I made them in every color I had and then went to the store to buy more colors. I love them! Cute and dainty. Before you say it, I tried. I had a etsy shop. I can't even remember the name at this point. The Ornamental Flower. Not my time and season to sell. I wish it was sometimes. I am an artist who can't concentrate with all the kids. It is hard to really pour your heart into marketing, and making for that matter, when real life calls you. So for now, if you have a birthday let me know. I'll make you a set of earrings. Or if you are one of my kids teachers, or a family member I'm sure you'll get them for Christmas. 


Chalk lettering

 Can you write on these signs for our son and soon to be daughter-in-law's wedding? Of course I can. Aren't they the cutest trays ever! Loved them. I thought their own handwriting would've been lovely too. On the other hand, I do love any excuse to do a quick project. It didn't take long, and the couple are just sweet hearts. Only problem was we were headed to the beach and we didn't get to go to the reception! I know that it was beautiful. 


Wednesday, February 6, 2013

fancy C step stool


Every home needs a step stool, especially one with kids. This was a Christmas present for my sister-in-law. I did one for my mother a few years ago and she has asked for one ever since. It was our turn to have her name for Christmas. It was one person this year I didn't think about what to buy. She was happy to finally have her stool.

Tuesday, June 12, 2012

freezer paper ballerina stencil


Custom tote. This is the silhouette that the dance studio uses. I drew it on freezer paper and cut it out. Although the image the studio uses doesn't have the tutu, I used my artistic license to embellish. 

Wednesday, March 14, 2012

Flip Flops!!! the best accessory of summer

Who doesn't love a good pair of flip flops? 


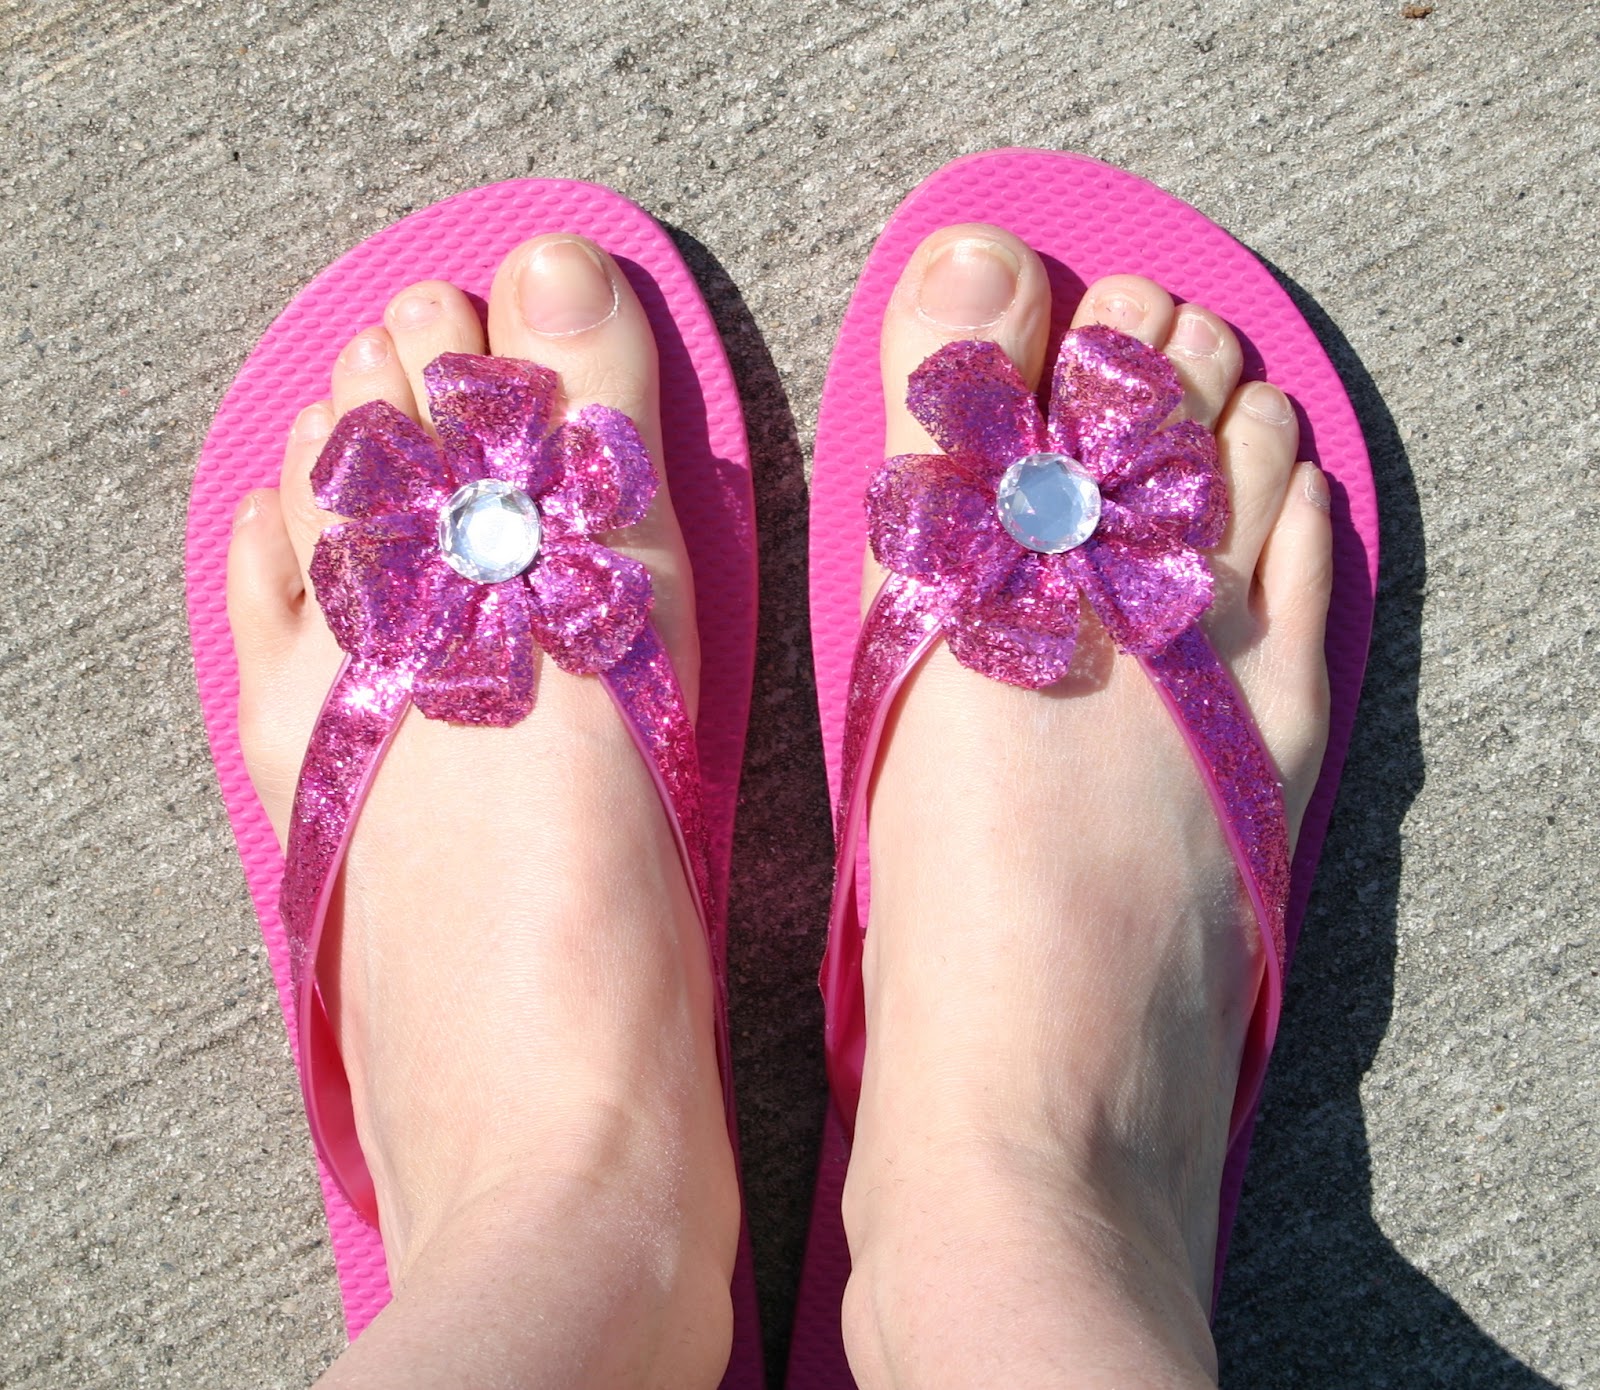
 I think I have found my new obsession. Rather then hairbows that my girls wear, I can wear these too! The pink and blue flops I made for my sister-in-law's birthday. So, happy birthday Connie! And here is how I did it...


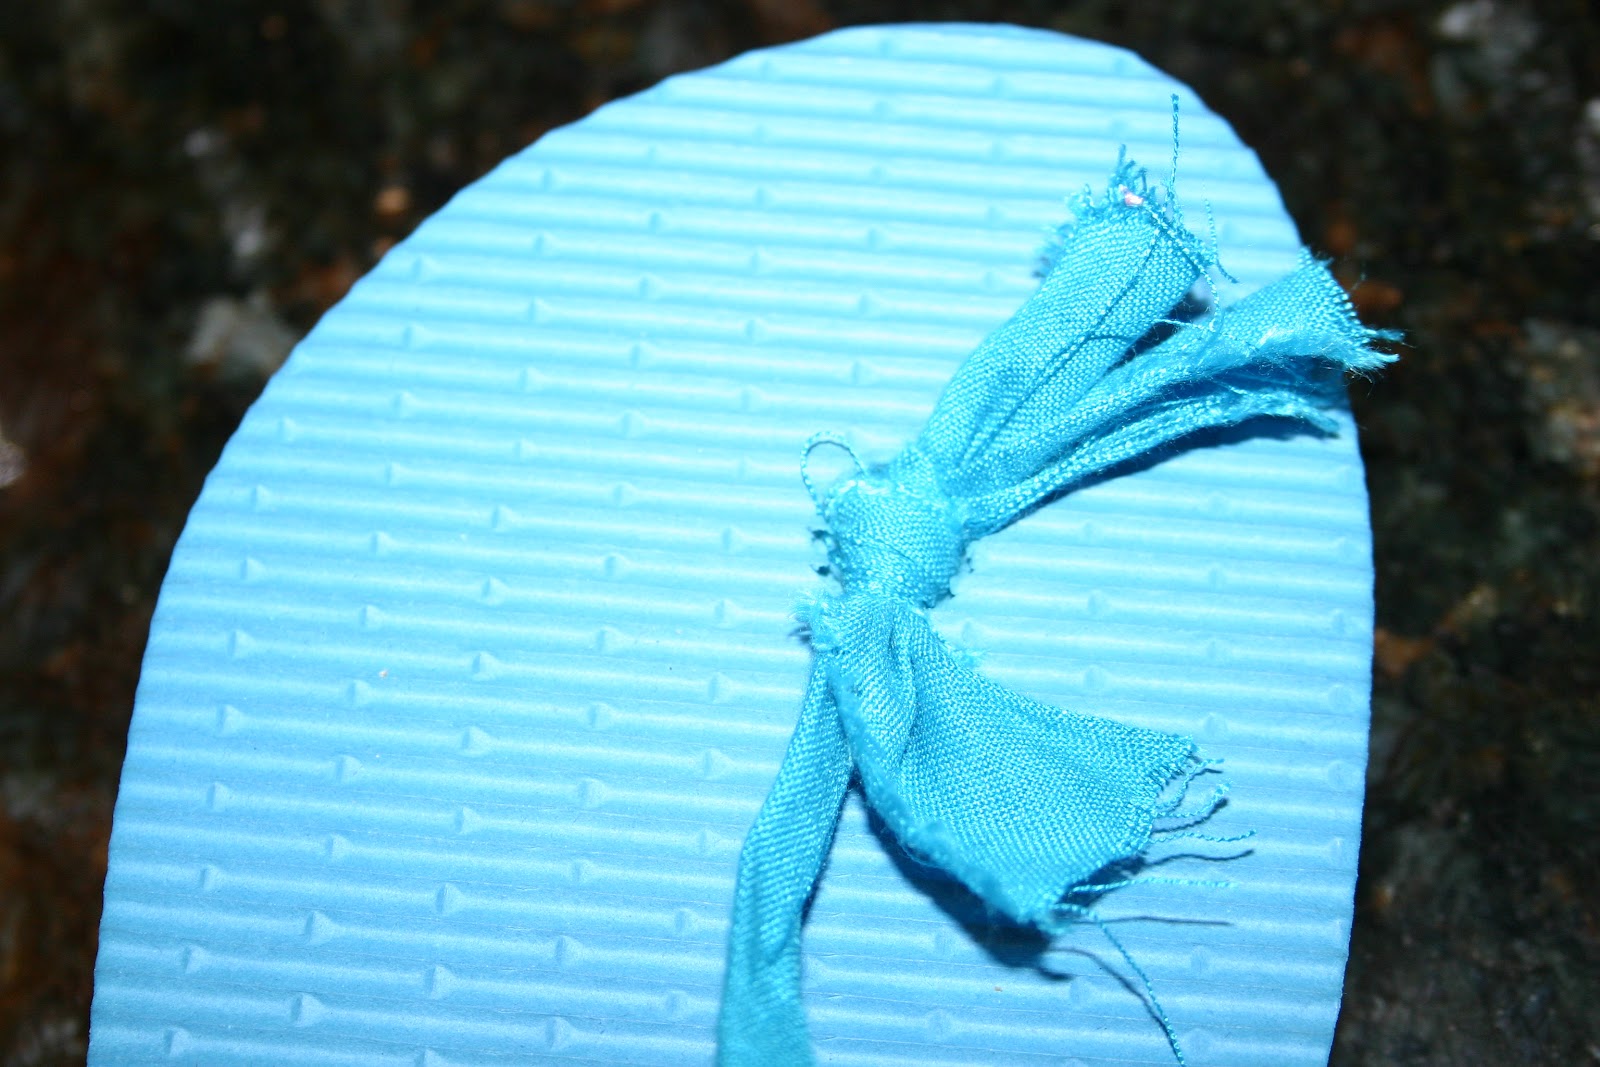
Cut the original plastic straps off. Then I added four strips of fabric about an inch wide to the sandal. Pulled all four through the center hole and tied them so the knot fit in the hole, then glued, then trimmed. 


After that I twisted two stands of fabric per side. Then threaded it through the side hole. There are your straps.


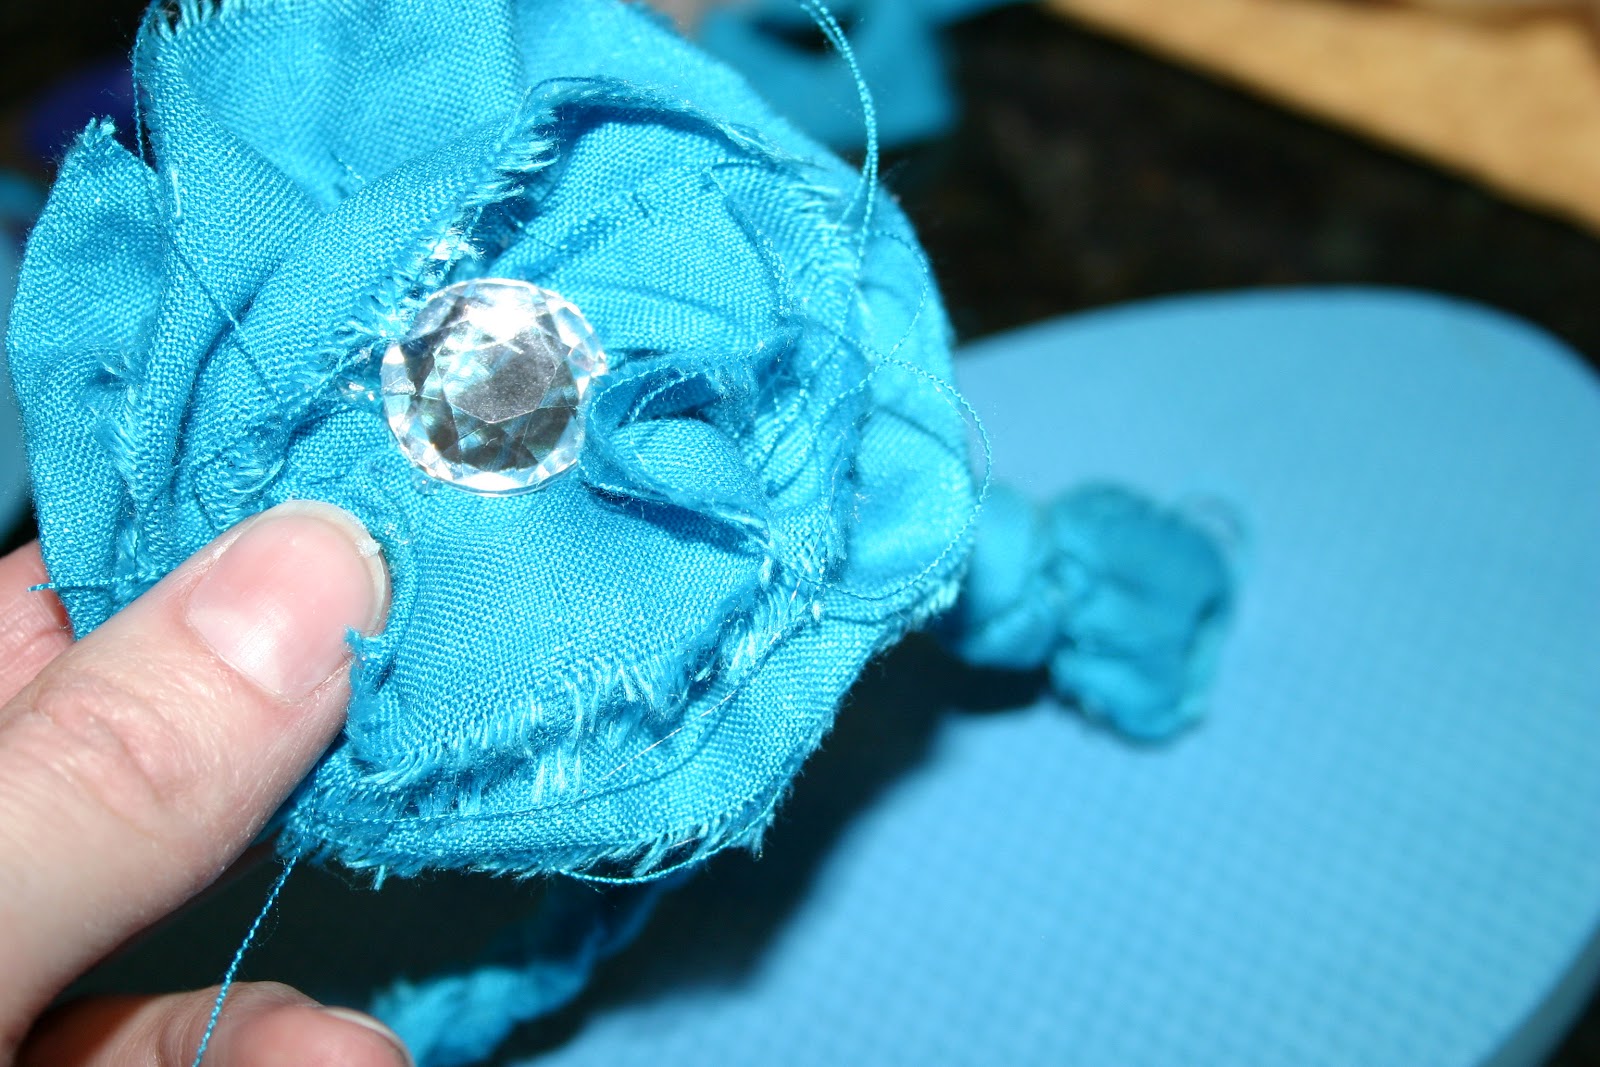
I made a fabric flower in the same manner I make my flower rose hairbows. 


Added bling because I know my sister-in-law would like that. Hot glued that sucker on the top.


And Voila! 
(please don't look at my toes which are in desperate need of a pedi). 


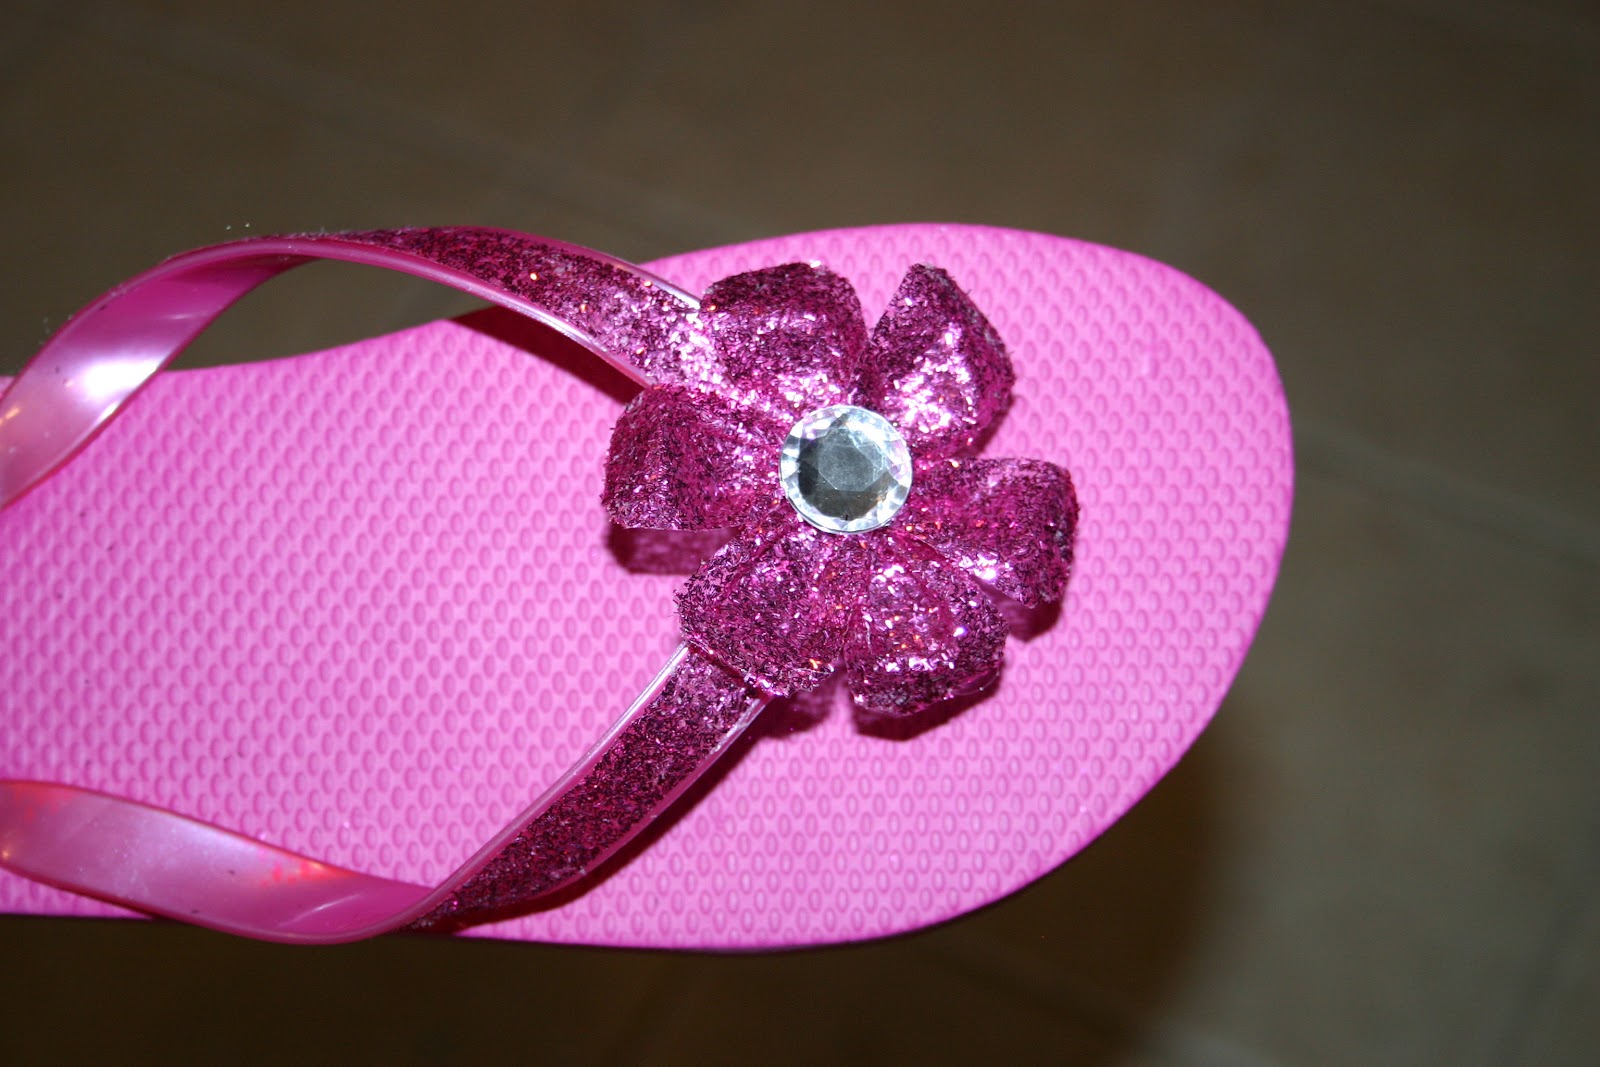
On to the pink sparkle. I left the existing straps and simply hot glued glitter ribbon.


 Added one of my favorite hairbow flowers...


And there you have diva flip flop #2. 

Next go round I think I will use a black sole. I think it would make the additions pop more. Oh, there is nothing I love more then a fun pair of flip flops. I will post more when I make them. At least one pair per swimsuit! Summer here we come!

Saturday, February 4, 2012

Mod Podge Dry Erase Board

 As I was making my "to do" list for the day I thought of something. It would be so nice to mod podge scrapbook paper to this ugly board and make it pretty. Then looking at the long list of things to clean I decided it would be more fun to do a craft then do all my "to do's." 


Simple. 
All you do is:
1. apply mod podge to the board 
2. slap on the paper
3. run a credit card over it to squeeze out bubbles and excess glue
4. trim with exacto knife once it is dry
And TA DA!


Now on to the rest of my "to do's." I didn't list all the things that needed to be done around this house. It would scare you. 


Friday, February 3, 2012

Bleach Pen Shirts

Anything 100% cotton you better watch out. I have a new obsession. Really easy. Draw on a shirt with a bleach pen. Like the Tide pens except it is Clorox. This isn't a new idea, but the first time I tried it. I used the entire bleach pen in one afternoon. I was kinda dizzy to say the least. Not really.  


The teal on in the top left was my demo shirt. It already had paint on it. I learned that you have to get it started on something other then your nice shirt. It comes out liquidy like ketchup at first. You would never open up a bottle of ketchup and put it directly on a nice grilled hot dog. Same concept. 

It works best if you use 100% cotton. Synthetic fibers don't bleach as well, or not at all. I tested out a small dot on the underside of the hem to see how well the fabric would work with different shirts. Easy way to test the 60% cotton 40% polyester. It worked on one but not the other.  


I really loved the concept of the palm trees. I pulled the design from a screen printed shirt from American Eagle. But the 100% cotton shirts really accept the bleach. You might want to let it set for a shorter time. Some places said 30 minutes. I wish I had only let this one sit for 10 minutes. You can tell when it starts to bleed. So since the trees' leaves bleached larger with less detail then I wanted I added some paint. Just tulip fabric paint watered down in pink and brown. I thought it added more depth. And at the bottom it says "Nothin could be finer then to be in Carolina." If you don't know, it is from an old song. I am referring to the beaches and state in general, not the school. 


And this one I was inspired by a wall mural I saw on pinterest. And isn't pinterest the best thing in the world? I did take the design to the back of the shirt as well. This shirt has spandex in it. I also got impatient so the bleach made some neat halo effects. 


Thursday, January 12, 2012

baptism gift


A gift I did for my friend's daughter who got baptized. I wasn't sure what direction to go in. I must be in a calligraphy mood lately. The quote is from a song that they sang at the service.

Sunday, January 1, 2012

A beautiful day


My beautiful niece


On December 31, 2011 sister-in-law and her husband were able to take their sweet baby to the temple and  be sealed for time and all eternity. 


I made this little piece of artwork for them to celebrate this day. I framed it in a cream frame. There were also two other frames that were 5x7 that matched so they can make a grouping on their wall of pictures from that day. And it I wouldn't be me if I didn't make a new bow for the occasion. The bow is made of the same flower on the artwork. Hey, she is almost 4 months old. The girl needed a fresh bow. 


If you are not familiar with the Church of Jesus Christ of latter-day saints and our belief on families being together after this life- here is a wonderful explanation from mormon.org  


Can a husband and wife be together forever? Do Mormons believe that families will live together in heaven?

Family relationships can last forever—not just for this life.
Just as some of life’s sweetest joys can come through family associations, the loss of a beloved family member can be a source of our deepest sorrows.
Jesus Christ gave power to His disciples to seal families together forever when He said, “And it will give unto thee the keys of the kingdom of heaven: and whatsoever thou shalt loose on earth shall be loosed in heaven” (Matthew 16:19).
Death does not need to be the end of our relationships with cherished loved ones. The Lord revealed to Joseph Smith that the “same sociality which exists among us here will exist among us there [in eternity], only it will be coupled with eternal glory” (Doctrine and Covenants 130:2).
Family members who accept the Atonement of Jesus Christ and follow His example can be together forever through sacred ordinances performed in God’s holy temples. These ordinances seal a husband and wife together for all eternity and children to their parents as an eternal family. (See: “The Family: A Proclamation to the World”)

Saturday, December 24, 2011

Hand Print Salt Dough Ornaments

This year I had a few of the cousins over at my house. We decorated gingerbread houses and cookies. They were beautiful, but I didn't take pictures. It was too crazy with a house full of kids to remember the camera! But I had two nieces over. And since they are 3 and 4 months old, they weren't too interested in the decorating. So I looked up a recipe for salt dough ornaments and made a little something.


4 C flour
1 C salt
1 1/2 C warm water
bake for 1 hour on 350 degrees

easy right!!

 I added the name and date with an all (it's a tool, but I don't know how to spell it. It is pronounced "all", tooth pick would word too). Rather then dragging it, I did dots closely together. This way you don't get the pulling that distorts the letters and the puddles at the ends of the letters. 

And Viola!
They are a much softer pink. The camera made them really dark.

Wednesday, November 30, 2011

Mod Podge Christmas Ornaments tutorial

These are really simple ornaments to make. They work great for utilizing those beautiful Christmas cards from years past, a favorite Christmas print, or perfect for customizing with a monogram or personal note. Even a wedding invitation, a birth announcement or another significant even can be used as keepsake for the tree.
These were one dollar at Hobby Lobby, but on sale 50% off. Yeah me. Sad thing is they sell out quick, so there were only 4 left. Last year I ordered them from http://www.createforless.com/. You have to order in a large quantity and I didn't need as many this year. They are just basic paper mache ornaments in the Christmas craft section. 
I Mod Podge the images to the front and back of the ornament. I trim one side before starting the next. It works best when it drys and using an exacto knife with the image face down. If your cuts are perfect sand paper the edges. It gives it a nice clean edge and distresses it too. 
Then I paint the edges. This step can be done first if your painting tends to be a bit messy. 
Next I add a layer of mod podge to both sides to seal it. Then I add a paint and water mixture to both surfaces to give it a tea stain look. If the paint seems to be a bit dark or you don't like the brush strokes take a paper towel and wipe some off.
To complete the ornament I add a ribbon around the edge. I center the ribbon on the bottom with hot glue. Then add hot glue along the sides in one to two steps until I reach the top. Tie the bow and add another drop of glue behind to secure the bow.
I made 80 of these last year (with lots of help) for the ladies in my church. I liked it so much I decided to make them for my neighbors this year.