Saturday, December 24, 2011

Hand Print Salt Dough Ornaments

This year I had a few of the cousins over at my house. We decorated gingerbread houses and cookies. They were beautiful, but I didn't take pictures. It was too crazy with a house full of kids to remember the camera! But I had two nieces over. And since they are 3 and 4 months old, they weren't too interested in the decorating. So I looked up a recipe for salt dough ornaments and made a little something.


4 C flour
1 C salt
1 1/2 C warm water
bake for 1 hour on 350 degrees

easy right!!

 I added the name and date with an all (it's a tool, but I don't know how to spell it. It is pronounced "all", tooth pick would word too). Rather then dragging it, I did dots closely together. This way you don't get the pulling that distorts the letters and the puddles at the ends of the letters. 

And Viola!
They are a much softer pink. The camera made them really dark.

Wednesday, December 21, 2011

Family Pictures


Her is our first official family picture in about 5 years! We have tried many times to have a random person take our picture on the beach or at the temple. But let's face it... you have to take a hundred pictures to get one good one. Especially when you are dealing with kids. I am very pleased with this one. 

Chantel Tucker, a very talented friend of mine, took our pictures. She edited the family one. The others I tried to edit. Of course they aren't quite up to par. It being Christmas, oh and the fact that she has a baby due on the 29th, I figured I could wait on the editing. She was kind enough to come out there and take them in the first place!


Wednesday, November 30, 2011

Mod Podge Christmas Ornaments tutorial

These are really simple ornaments to make. They work great for utilizing those beautiful Christmas cards from years past, a favorite Christmas print, or perfect for customizing with a monogram or personal note. Even a wedding invitation, a birth announcement or another significant even can be used as keepsake for the tree.
These were one dollar at Hobby Lobby, but on sale 50% off. Yeah me. Sad thing is they sell out quick, so there were only 4 left. Last year I ordered them from http://www.createforless.com/. You have to order in a large quantity and I didn't need as many this year. They are just basic paper mache ornaments in the Christmas craft section. 
I Mod Podge the images to the front and back of the ornament. I trim one side before starting the next. It works best when it drys and using an exacto knife with the image face down. If your cuts are perfect sand paper the edges. It gives it a nice clean edge and distresses it too. 
Then I paint the edges. This step can be done first if your painting tends to be a bit messy. 
Next I add a layer of mod podge to both sides to seal it. Then I add a paint and water mixture to both surfaces to give it a tea stain look. If the paint seems to be a bit dark or you don't like the brush strokes take a paper towel and wipe some off.
To complete the ornament I add a ribbon around the edge. I center the ribbon on the bottom with hot glue. Then add hot glue along the sides in one to two steps until I reach the top. Tie the bow and add another drop of glue behind to secure the bow.
I made 80 of these last year (with lots of help) for the ladies in my church. I liked it so much I decided to make them for my neighbors this year.

Tuesday, November 29, 2011

Glitter Letters for Stockings


When I hand the stockings each year I have a letter with each one. That is actually how I decided on my itty bitty girl's name. I did her letter and then I was like "okay, that name is the right one." But... It was time to change the monograms the stockings. The letters blended into the silver of the stockings. I was looking for a punch of blue for the mantel.

It was really complicated...
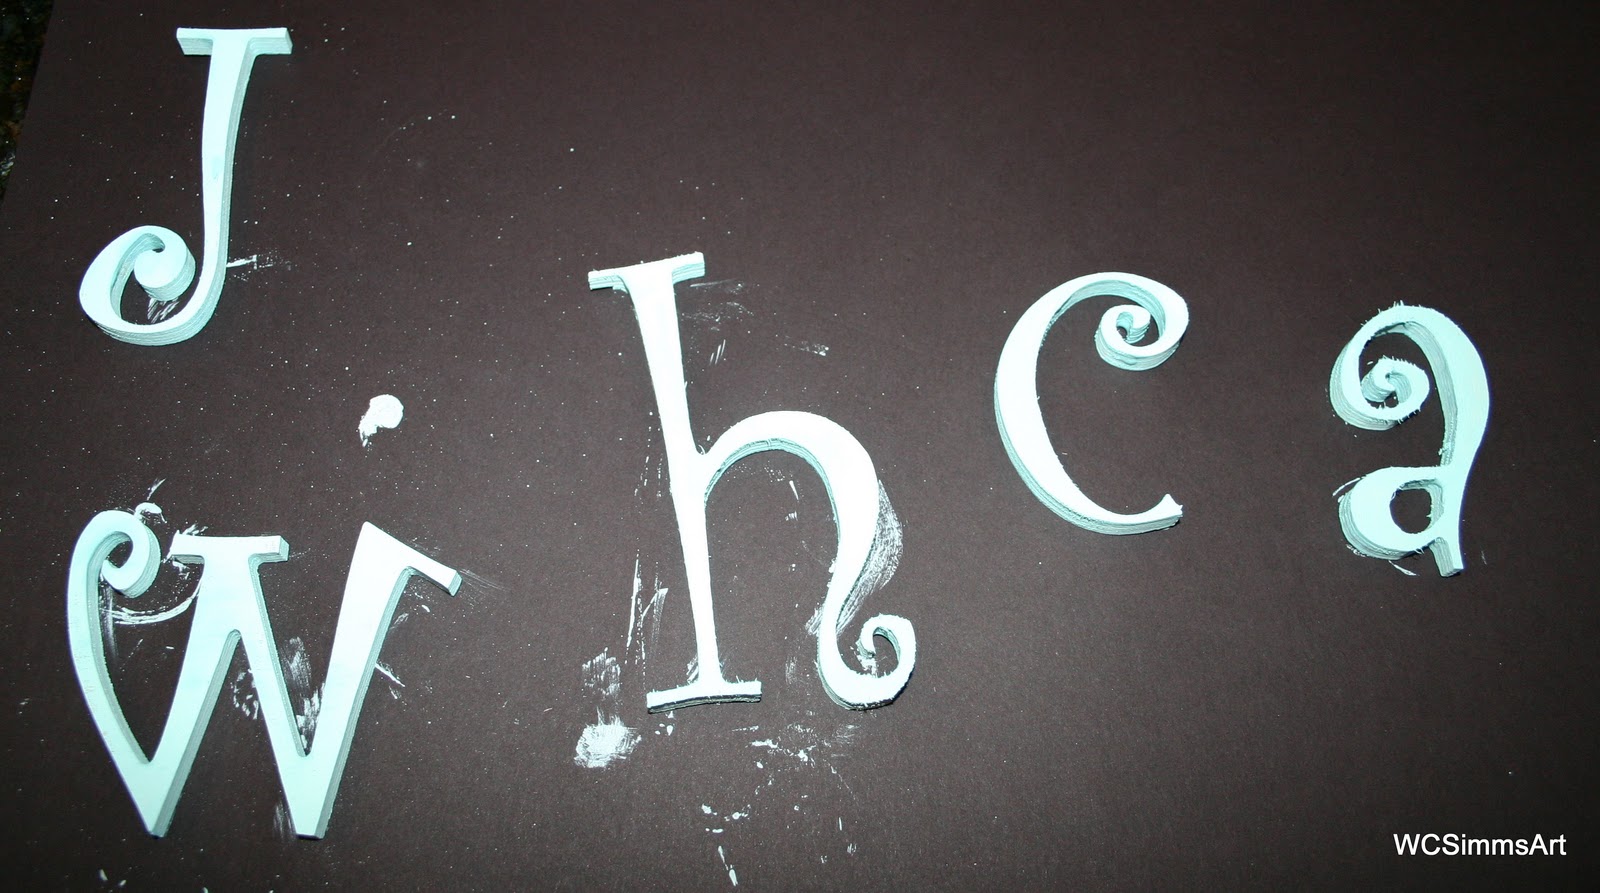
 Take plain wooden letters.
 Paint them a base color. The glitter might not cover every nook and cranny, so this step is important. You most certainly don't want the wood to show through. 
 Brush on white glue and cover, and I mean, cover with glitter.
 And there you go. Just a little blue to brighten up the silver mantel. 

Hand Print Art


 Isn't it amazing to see how little hands grow. This gift was inspired by my own little ones. Hands are one of my favorite features on a baby. They are just so tiny. And as they grow they still look tiny, until you compare hand prints from just a few months earlier. On the leaves you record the date and age of the hand print.
I made extra flowers and leaves. And of course plenty for wiggly mess ups too.
So for the baby that has everything... here is an new idea on something as classic as a hand print.

Wednesday, November 23, 2011

Mrs. Claus and her itty bitty elf


It's that time of year again. We could go to the mountains and cut down our own tree in the time it takes me to fluff my branches on our "faux" tree. Does calling it faux make it more socially exceptable to have a fake tree? I guess I have found my favorite holiday canvas. A tree is like it's own piece of art. And most everyone takes part. I love it. It allows everyone to express themselves without even knowing they are artists too. So I am slightly obsessed with this particular shade of blue. And of course that spilled over onto my tree. And the elf. Notice she matches my tree. My favorite ornaments to buy are angels, stars and snowflakes. But hey, who doesn't love the literal symbols of Christmas mixed with a few secular? 


Oh, my little itty bitty elf. Her expression was adorable upon finding a tree with lights in her den after her nap. There were no ornaments hung... so she got to help. It was priceless. With ball in hand, I asked her to show me where it should go. She pointed to a branch on the lowest part of the tree right at her eye level. I hung it. My little elf inspected it and said "cue." (her cute). Then on to the next ball. I thought this was going to be a wonderful time. Then I hung ball number two and she said "no." I pointed to another branch close to the one that she pointed to. Again "no." We did this with a few more ornaments and sometimes I would get a "no, no, no." Wow, little miss priss! Perfectionist maybe! Cutest Christmas moment ever! I bet Nanny was laughing her head off. I am sure that she didn't miss that one.


Itty bitty ELF!!! I should've waited to post until bed time. She covered the kitchen island and herself with the syrup bottle left out from breakfast while I was on the computer. Bathtime here we come.

Friday, November 18, 2011

Dinning Room Part 5: the finishing touches

 All DONE!!! Napkins and candles from World Market. Candle holders and China from our wedding. Yes people, I did use it and LOVED that I had it. Hurricane candle holders from T J Max. The paintings I did in 2007. It amazed me how the colors matched today. I guess I have a palate and stick with it. Napkin rings and mirror at Old Tyme Pottery. All in all it didn't cost as much as I thought to complete the dinning room. Now our home feels complete. At least down stairs.